Web Scraping with Puppeteer: Detecting Website Changes and Taking Screenshots

Adélia Cruz
Neural Network Developer

Web scraping has become an essential tool for automating data collection and monitoring websites for changes. In this blog post, we'll explore how to use Puppeteer, a Node.js library, for web scraping, detecting changes on a website, and taking screenshots of these changes.
What is Puppeteer?
Puppeteer is a Node.js library that provides a high-level API to control headless Chrome or Chromium over the DevTools protocol. It can be used for web scraping, automated testing, or even generating screenshots and PDFs of web pages.
Prerequisites
Before getting started, make sure you have the following installed:
You can install Puppeteer by running the following command in your terminal:
bash
npm install puppeteerBasic Web Scraping with Puppeteer
To begin with, let's create a basic web scraper that navigates to a website and extracts the text content.
javascript
const puppeteer = require('puppeteer');

(async () => {
    const browser = await puppeteer.launch();
    const page = await browser.newPage();

    // Navigate to the website
    await page.goto('https://example.com');

    // Extract text content
    const content = await page.evaluate(() => {
        return document.querySelector('h1').innerText;
    });

    console.log('Page content:', content);

    await browser.close();
})();
This script opens a headless browser, navigates to example.com, and extracts the text from the <h1> element. You can replace the URL with the website you want to scrape and adjust the selector to match the element you're interested in.
Taking Screenshots with Puppeteer
Puppeteer allows you to take screenshots of web pages easily. You can capture full-page screenshots or specific areas of the page.
Here's how to take a full-page screenshot:
javascript
const puppeteer = require('puppeteer');

(async () => {
    const browser = await puppeteer.launch();
    const page = await browser.newPage();

    // Navigate to the website
    await page.goto('https://example.com');

    // Take a full-page screenshot
    await page.screenshot({ path: 'screenshot.png', fullPage: true });

    await browser.close();
})();
This script saves a screenshot of the entire page as screenshot.png. You can modify the path to specify a different file name or location.
Detecting Website Changes
Monitoring a website for changes is a useful feature in web scraping. You can achieve this by repeatedly checking the website's content and comparing it to a previously saved version.
Here’s an example of detecting text changes and taking a screenshot if the content changes:
javascript
const puppeteer = require('puppeteer');
const fs = require('fs');

(async () => {
    const browser = await puppeteer.launch();
    const page = await browser.newPage();

    // Navigate to the website
    await page.goto('https://example.com');

    // Extract text content
    const currentContent = await page.evaluate(() => {
        return document.querySelector('h1').innerText;
    });

    const previousContentPath = 'previous-content.txt';
    let previousContent = '';

    // Check if previous content exists
    if (fs.existsSync(previousContentPath)) {
        previousContent = fs.readFileSync(previousContentPath, 'utf8');
    }

    // Compare current content with previous content
    if (currentContent !== previousContent) {
        console.log('Content has changed!');

        // Save new content
        fs.writeFileSync(previousContentPath, currentContent);

        // Take a screenshot of the change
        await page.screenshot({ path: `screenshot-${Date.now()}.png`, fullPage: true });
        console.log('Screenshot saved!');
    } else {
        console.log('No changes detected.');
    }

    await browser.close();
})();
In this example:
- The script extracts the content of the
<h1>element. - It compares the current content with a previously saved version (
previous-content.txt). - If a change is detected, it takes a screenshot and saves it with a timestamp in the filename, ensuring that each screenshot is unique.
- The new content is saved to
previous-content.txtfor future comparisons.
Scheduling the Scraper to Run Regularly
You can use Node.js to schedule this script to run at intervals using the node-cron package.
First, install node-cron:
bash
npm install node-cronNow, modify your script to run at a set interval (e.g., every 5 minutes):
javascript
const puppeteer = require('puppeteer');
const fs = require('fs');
const cron = require('node-cron');

cron.schedule('*/5 * * * *', async () => {
    const browser = await puppeteer.launch();
    const page = await browser.newPage();

    await page.goto('https://example.com');

    const currentContent = await page.evaluate(() => {
        return document.querySelector('h1').innerText;
    });

    const previousContentPath = 'previous-content.txt';
    let previousContent = '';

    if (fs.existsSync(previousContentPath)) {
        previousContent = fs.readFileSync(previousContentPath, 'utf8');
    }

    if (currentContent !== previousContent) {
        console.log('Content has changed!');
        fs.writeFileSync(previousContentPath, currentContent);
        await page.screenshot({ path: `screenshot-${Date.now()}.png`, fullPage: true });
        console.log('Screenshot saved!');
    } else {
        console.log('No changes detected.');
    }

    await browser.close();
});
This script will run every 5 minutes (*/5 * * * *) and check for changes on the website. If it detects a change, it will take a screenshot and log the update.
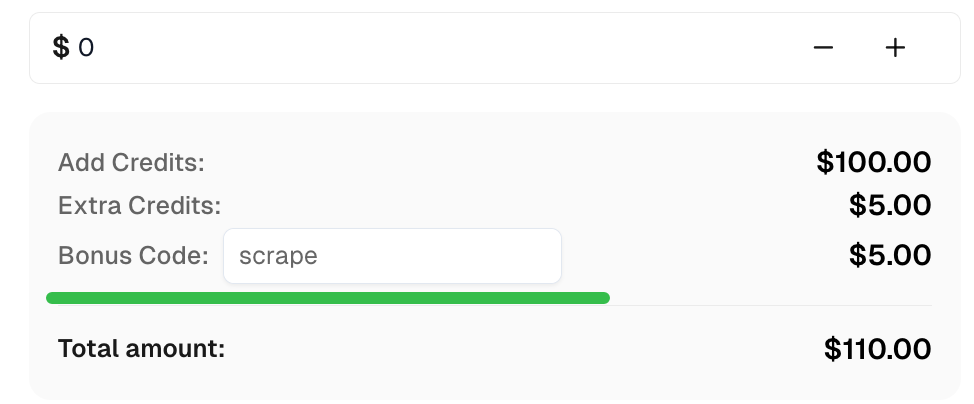
Bonus Code
Claim your Bonus Code for top captcha solutions at CapSolver: scrape. After redeeming it, you will get an extra 5% bonus after each recharge, unlimited times.
Conclusion
Puppeteer is a powerful tool for web scraping and automating browser tasks. In this post, we demonstrated how to use Puppeteer for basic web scraping, detecting website changes, and capturing screenshots of these changes. With these techniques, you can monitor websites and track updates automatically. Be sure to check website scraping policies to avoid violating terms of service.
More
CloudflareJul 17, 2026
Cloudflare Turnstile Solver for Automation: CapSolver Token Workflow, Session Checks, and Error Handling
Learn a Cloudflare Turnstile solver workflow for automation using CapSolver token creation, session consistency checks, verification, and bounded retries.

AIJul 17, 2026
LangChain CAPTCHA Solver Agent Tool: Build a CapSolver Recovery Workflow for reCAPTCHA and Turnstile
Create a LangChain CAPTCHA solver agent tool with CapSolver, safe tool schemas, retry budgets, and verification for reCAPTCHA and Cloudflare Turnstile.