SeleniumBase と Python を使用した 2024 年の Web スクレイピング

Nikolai Smirnov
Software Development Lead

ウェブスクレイピングは、データ抽出、市場調査、自動化のための強力なツールです。ただし、CAPTCHAは、自動スクレイピングの取り組みを妨げる可能性があります。このガイドでは、SeleniumBase を使用してウェブスクレイピングを実行し、quotes.toscrape.com を例に、CapSolver を統合してCAPTCHAを効率的に解決する方法について説明します。
SeleniumBaseの概要
SeleniumBase は、ウェブ自動化とテストを簡素化するPythonフレームワークです。Selenium WebDriverの機能を拡張し、よりユーザーフレンドリーなAPI、高度なセレクター、自動待ち時間、追加のテストツールを提供します。
SeleniumBaseのセットアップ
始める前に、システムにPython 3がインストールされていることを確認してください。SeleniumBaseをセットアップするには、次の手順に従ってください。
-
SeleniumBaseをインストールする:
bashpip install seleniumbase -
インストールを確認する:
bashsbase --help
SeleniumBaseを使用した基本的なスクレイパー
quotes.toscrape.com に移動して、引用と著者の名前を抽出する簡単なスクリプトを作成してみましょう。
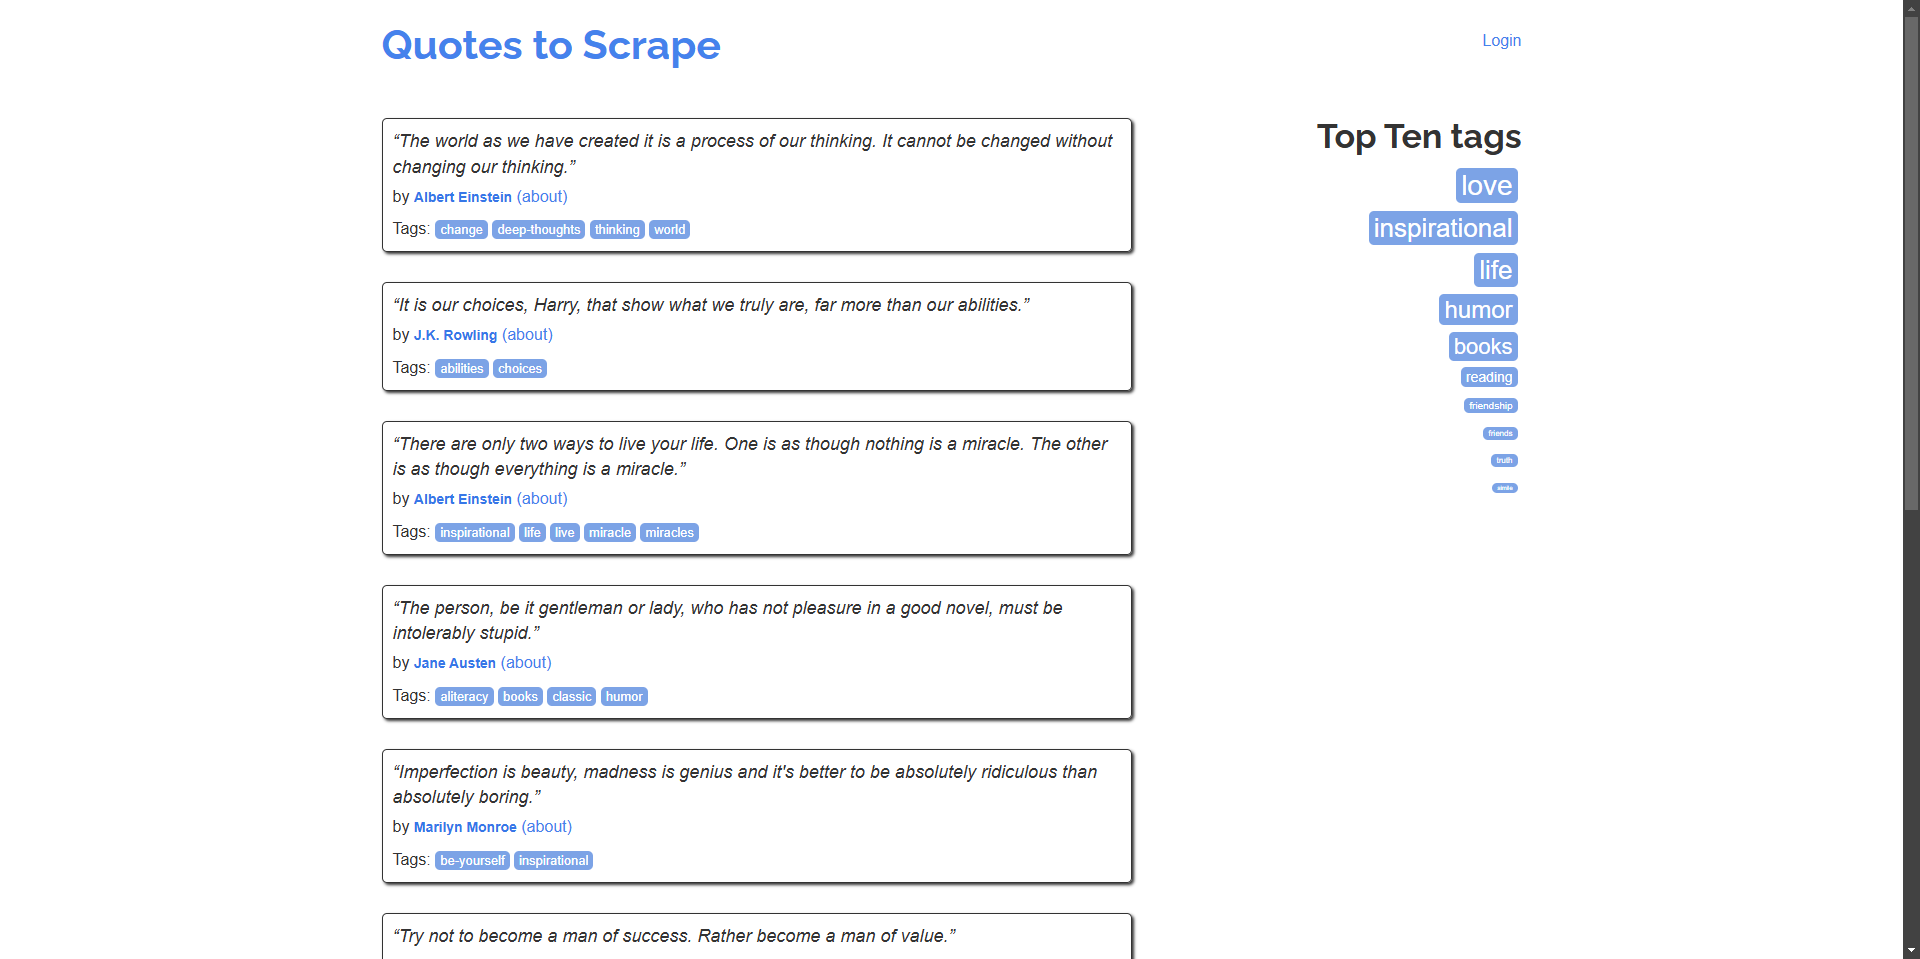
例: ホームページから引用とその作者の名前をスクレイピングする。
python
# scrape_quotes.py

from seleniumbase import BaseCase

class QuotesScraper(BaseCase):
    def test_scrape_quotes(self):
        self.open("https://quotes.toscrape.com/")
        quotes = self.find_elements("div.quote")
        for quote in quotes:
            text = quote.find_element("span.text").text
            author = quote.find_element("small.author").text
            print(f"\"{text}\" - {author}")

if __name__ == "__main__":
    QuotesScraper().main()
スクリプトを実行する:
bash
python scrape_quotes.py出力:
“The world as we have created it is a process of our thinking. It cannot be changed without changing our thinking.” - Albert Einstein
...
より高度なウェブスクレイピングの例
ウェブスクレイピングのスキルを向上させるために、SeleniumBaseを使用したより高度な例を見てみましょう。
複数ページのスクレイピング(ページネーション)
多くのウェブサイトでは、コンテンツが複数のページにわたって表示されます。スクリプトを変更して、すべてのページを移動し、引用をスクレイピングしてみましょう。
python
# scrape_quotes_pagination.py

from seleniumbase import BaseCase

class QuotesPaginationScraper(BaseCase):
    def test_scrape_all_quotes(self):
        self.open("https://quotes.toscrape.com/")
        while True:
            quotes = self.find_elements("div.quote")
            for quote in quotes:
                text = quote.find_element("span.text").text
                author = quote.find_element("small.author").text
                print(f"\"{text}\" - {author}")

            # 次のページがあるかどうかを確認する
            if self.is_element_visible('li.next > a'):
                self.click('li.next > a')
            else:
                break

if __name__ == "__main__":
    QuotesPaginationScraper().main()
説明:
- "Next"ボタンがあるかどうかを確認することで、ページをループ処理します。
is_element_visibleを使用して、"Next"ボタンの有無を確認します。- "Next"ボタンをクリックして、次のページに移動します。
AJAXによる動的コンテンツの処理
一部のウェブサイトでは、AJAXを使用してコンテンツを動的に読み込んでいます。SeleniumBaseでは、要素が読み込まれるのを待つことで、このようなシナリオを処理できます。
例: 動的に読み込まれるウェブサイトからタグをスクレイピングする。
python
# scrape_dynamic_content.py

from seleniumbase import BaseCase

class TagsScraper(BaseCase):
    def test_scrape_tags(self):
        self.open("https://quotes.toscrape.com/")
        # 'Top Ten tags' リンクをクリックして、タグを動的に読み込む
        self.click('a[href="/tag/"]')
        self.wait_for_element("div.tags-box")
        tags = self.find_elements("span.tag-item > a")
        for tag in tags:
            tag_name = tag.text
            print(f"Tag: {tag_name}")

if __name__ == "__main__":
    TagsScraper().main()
説明:
div.tags-box要素が読み込まれるまで待ちます。これにより、動的コンテンツが確実に読み込まれます。wait_for_elementを使用することで、要素が使用可能になるまでスクリプトが続行されません。
フォームの送信とログイン
場合によっては、コンテンツをスクレイピングする前に、ウェブサイトにログインする必要があることがあります。フォームの送信を処理する方法を次に示します。
例: ウェブサイトにログインして、認証されたユーザーページから引用をスクレイピングする。
python
# scrape_with_login.py

from seleniumbase import BaseCase

class LoginScraper(BaseCase):
    def test_login_and_scrape(self):
        self.open("https://quotes.toscrape.com/login")
        # ログインフォームに入力する
        self.type("input#username", "testuser")
        self.type("input#password", "testpass")
        self.click("input[type='submit']")

        # ログアウトリンクをチェックすることで、ログインを確認する
        if self.is_element_visible('a[href="/logout"]'):
            print("Logged in successfully!")

            # ここで引用をスクレイピングする
            self.open("https://quotes.toscrape.com/")
            quotes = self.find_elements("div.quote")
            for quote in quotes:
                text = quote.find_element("span.text").text
                author = quote.find_element("small.author").text
                print(f"\"{text}\" - {author}")
        else:
            print("Login failed.")

if __name__ == "__main__":
    LoginScraper().main()
説明:
- ログインページに移動して、資格情報を入力します。
- フォームを送信した後、ログアウトリンクの有無をチェックすることで、ログインを確認します。
- ログインしたユーザーが利用できるコンテンツをスクレイピングします。
注: quotes.toscrape.com では、デモ用にユーザー名とパスワードが許可されているため、ダミーの資格情報を使用できます。
テーブルからのデータの抽出
ウェブサイトでは、多くの場合、データがテーブル形式で表示されます。テーブルデータの抽出方法を次に示します。
例: テーブルからデータをスクレイピングする(ウェブサイトにはテーブルがないため、仮定上の例)。
python
# scrape_table.py

from seleniumbase import BaseCase

class TableScraper(BaseCase):
    def test_scrape_table(self):
        self.open("https://www.example.com/table-page")
        # テーブルが読み込まれるまで待つ
        self.wait_for_element("table#data-table")
        rows = self.find_elements("table#data-table > tbody > tr")
        for row in rows:
            cells = row.find_elements("td")
            row_data = [cell.text for cell in cells]
            print(row_data)

if __name__ == "__main__":
    TableScraper().main()
説明:
- IDまたはクラスでテーブルを探します。
- 各行と各セルを反復処理して、データを抽出します。
quotes.toscrape.comにはテーブルがないため、URLをテーブルを含む実際のウェブサイトに置き換えてください。
SeleniumBaseへのCapSolverの統合
quotes.toscrape.com にはCAPTCHAはありませんが、実際には多くのウェブサイトにCAPTCHAが実装されています。このような場合に備えて、CapSolverブラウザ拡張機能を使用して、SeleniumBaseスクリプトにCapSolverを統合する方法を説明します。
Capsolverを使用してSeleniumBaseでCAPTCHAを解決する方法
-
CapSolver拡張機能をダウンロードする:
- CapSolver GitHubリリースページ にアクセスします。
- 最新バージョンのCapSolverブラウザ拡張機能をダウンロードします。
- プロジェクトのルートディレクトリ(例:
./capsolver_extension)に拡張機能を解凍します。
CapSolver拡張機能の構成
-
構成ファイルを見つける:
capsolver_extension/assetsディレクトリにあるconfig.jsonファイルを探します。
-
構成を更新する:
- 解決するCAPTCHAの種類に応じて、
enabledForcaptchaやenabledForRecaptchaV2をtrueに設定します。 captchaModeまたはreCaptchaV2Modeを自動解決のために"token"に設定します。
config.jsonの例:json{ "apiKey": "YOUR_CAPSOLVER_API_KEY", "enabledForcaptcha": true, "captchaMode": "token", "enabledForRecaptchaV2": true, "reCaptchaV2Mode": "token", "solveInvisibleRecaptcha": true, "verbose": false }"YOUR_CAPSOLVER_API_KEY"を実際のCapSolver APIキーに置き換えます。
- 解決するCAPTCHAの種類に応じて、
SeleniumBaseでのCapSolver拡張機能の読み込み
SeleniumBaseでCapSolver拡張機能を使用するには、ブラウザが起動時に拡張機能を読み込むように構成する必要があります。
-
SeleniumBaseスクリプトを変更する:
selenium.webdriver.chrome.optionsからChromeOptionsをインポートします。- CapSolver拡張機能を読み込むようにオプションを設定します。
例:
pythonfrom seleniumbase import BaseCase from selenium.webdriver.chrome.options import Options as ChromeOptions import os class QuotesScraper(BaseCase): def setUp(self): super().setUp() # CapSolver拡張機能へのパス extension_path = os.path.abspath('capsolver_extension') # Chromeオプションを構成する options = ChromeOptions() options.add_argument(f"--load-extension={extension_path}") options.add_argument("--disable-gpu") options.add_argument("--no-sandbox") # 新しいオプションを使用してドライバーを更新する self.driver.quit() self.driver = self.get_new_driver(browser_name="chrome", options=options) -
拡張機能のパスが正しいことを確認する:
extension_pathが、CapSolver拡張機能を解凍したディレクトリを指していることを確認してください。
CapSolver統合によるスクリプトの例
SeleniumBaseにCapSolverを統合して、CAPTCHAを自動的に解決する、完全なスクリプトを次に示します。引き続き、https://recaptcha-demo.appspot.com/recaptcha-v2-checkbox.php を例として使用します。
python
# scrape_quotes_with_capsolver.py
from seleniumbase import BaseCase
from selenium.webdriver.chrome.options import Options as ChromeOptions
import os

class QuotesScraper(BaseCase):
    def setUp(self):
        super().setUp()

        # CapSolver拡張機能フォルダへのパス
        # このパスがCapSolver Chrome拡張機能フォルダを正しく指していることを確認してください
        extension_path = os.path.abspath('capsolver_extension')

        # Chromeオプションを構成する
        options = ChromeOptions()
        options.add_argument(f"--load-extension={extension_path}")
        options.add_argument("--disable-gpu")
        options.add_argument("--no-sandbox")

        # 新しいオプションを使用してドライバーを更新する
        self.driver.quit()  # 既存のドライバーインスタンスを閉じる
        self.driver = self.get_new_driver(browser_name="chrome", options=options)

    def test_scrape_quotes(self):
        # reCAPTCHAのあるターゲットサイトに移動する
        self.open("https://recaptcha-demo.appspot.com/recaptcha-v2-checkbox.php")

        # CAPTCHAの有無をチェックし、必要に応じて解決する
        if self.is_element_visible("iframe[src*='recaptcha']"):
            # CapSolver拡張機能がCAPTCHAを自動的に処理する
            print("CAPTCHA detected, waiting for CapSolver extension to solve it...")

            # CAPTCHAが解決されるまで待つ
            self.sleep(10)  # 平均解決時間に基づいて時間を調整する

        # CAPTCHAが解決された後にスクレイピングのアクションを実行する
        # 例として、ボタンをクリックしたり、テキストを抽出したりする
        self.assert_text("reCAPTCHA demo", "h1")  # ページの内容を確認する

    def tearDown(self):
        # テスト後にクリーンアップしてブラウザを閉じる
        self.driver.quit()
        super().tearDown()

if __name__ == "__main__":
    QuotesScraper().main()
説明:
-
setUp メソッド:
- 各テストの前に、CapSolver拡張機能を使用してChromeブラウザを構成するために、
setUpメソッドをオーバーライドします。 - CapSolver拡張機能へのパスを指定し、Chromeオプションに追加します。
- 既存のドライバーを終了し、更新されたオプションを使用して新しいドライバーを作成します。
- 各テストの前に、CapSolver拡張機能を使用してChromeブラウザを構成するために、
-
test_scrape_quotes メソッド:
- ターゲットウェブサイトに移動します。
- CapSolver拡張機能が、CAPTCHAを自動的に検出して解決します。
- 通常どおりスクレイピングタスクを実行します。
-
tearDown メソッド:
- リソースを解放するために、テスト後にブラウザが閉じられるようにします。
スクリプトの実行:
bash
python scrape_quotes_with_capsolver.py注: quotes.toscrape.com にはCAPTCHAはありませんが、CapSolverを統合することで、CAPTCHAを使用しているサイトをスクレイピングできるようになります。
ボーナスコード
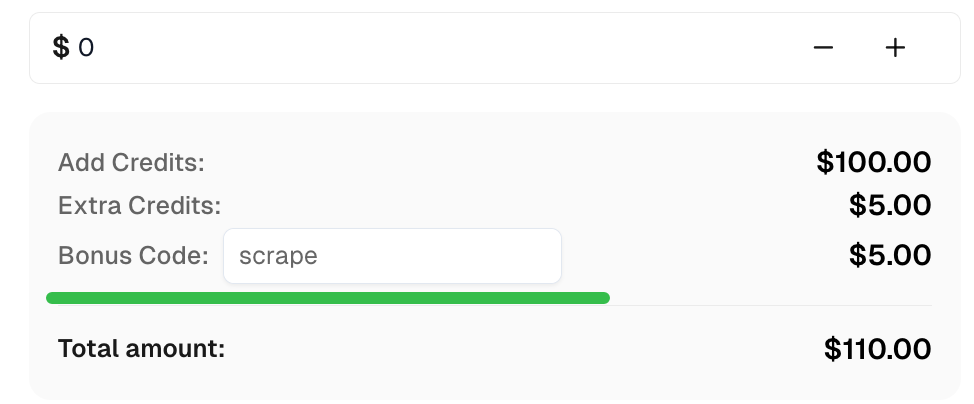
CapSolver で最高のCAPTCHAソリューションのボーナスコード を取得する: scrape。このコードを引き換えると、チャージごとに最大5%のボーナスが、無制限に適用されます。
まとめ
このガイドでは、SeleniumBaseを使用したウェブスクレイピングの方法について説明しました。基本的なスクレイピングテクニックから、ページネーション、動的コンテンツ、フォーム送信の処理などのより高度な例まで、さまざまな内容を扱いました。また、SeleniumBaseスクリプトにCapSolverを統合して、CAPTCHAを自動的に解決し、スクレイピングセッションを途切れさせないようにする方法も示しました。
もっと見る
AIJun 18, 2026
CAPTCHAソルバーの選定: あなたのエージェントインフラストラクチャに最適なものを選ぶ
エージェントインフラストラクチャのCAPTCHAソルバーを選択するための意思決定フレームワークで、チャレンジマッピング、セッションバインディング、観測性、レート制御、および責任ある使用に焦点を当てています。

AIJun 18, 2026
2026年のAIエージェント向け最適なCAPTCHA API
2026年向けのAIエージェント用CAPTCHA API選択のための実用的評価ガイド、ドキュメントされたタスクカバレッジ、ポーリング契約、トークン検証、および運用制御を中心に