Cómo usar node-fetch para Web Scraping

Aloísio Vítor
Image Processing Expert
¿Qué es node-fetch?
node-fetch es una librería JavaScript ligera que lleva la API window.fetch a Node.js. Se utiliza a menudo para realizar solicitudes HTTP desde un entorno Node.js, proporcionando una forma moderna y flexible de manejar operaciones de red de forma asíncrona.
Características:
- Basada en promesas: Utiliza promesas de JavaScript para gestionar operaciones asíncronas de forma sencilla.
- Compatibilidad con Node.js: Diseñada específicamente para entornos Node.js.
- Compatibilidad con streams: Admite streams, lo que la hace muy adecuada para manejar grandes cantidades de datos.
- Pequeña y eficiente: Diseño minimalista, centrado en el rendimiento y la compatibilidad con las características modernas de JavaScript.
Requisitos previos
Antes de usar node-fetch, asegúrate de tener:
Instalación
Para usar node-fetch, necesitas instalarlo usando npm o yarn:
bash
npm install node-fetcho
bash
yarn add node-fetchEjemplo básico: Realizar una solicitud GET
Aquí te mostramos cómo realizar una solicitud GET simple usando node-fetch:
javascript
const fetch = require('node-fetch');

fetch('https://httpbin.org/get')
  .then(response => response.json())
  .then(data => {
    console.log('Cuerpo de la respuesta:', data);
  })
  .catch(error => {
    console.error('Error:', error);
  });
Ejemplo de web scraping: Obtener datos JSON de una API
Vamos a obtener datos de una API y registrar los resultados:
javascript
const fetch = require('node-fetch');

fetch('https://jsonplaceholder.typicode.com/posts')
  .then(response => response.json())
  .then(posts => {
    posts.forEach(post => {
      console.log(`${post.title} — ${post.body}`);
    });
  })
  .catch(error => {
    console.error('Error:', error);
  });
Manejo de captchas con CapSolver y node-fetch
En esta sección, integraremos CapSolver con node-fetch para manejar captchas. CapSolver proporciona APIs para resolver captchas como ReCaptcha V3, permitiendo la automatización de tareas que requieren la resolución de dichos captchas.
Ejemplo: Resolver ReCaptcha V3 con CapSolver y node-fetch
Primero, instala node-fetch y CapSolver:
bash
npm install node-fetch
npm install capsolver
Ahora, aquí te mostramos cómo resolver un ReCaptcha V3 y usar la solución en tu solicitud:
javascript
const fetch = require('node-fetch');
const CAPSOLVER_KEY = 'YourKey';
const PAGE_URL = 'https://antcpt.com/score_detector';
const PAGE_KEY = '6LcR_okUAAAAAPYrPe-HK_0RULO1aZM15ENyM-Mf';
const PAGE_ACTION = 'homepage';

async function createTask(url, key, pageAction) {
  try {
    const apiUrl = 'https://api.capsolver.com/createTask';
    const payload = {
      clientKey: CAPSOLVER_KEY,
      task: {
        type: 'ReCaptchaV3TaskProxyLess',
        websiteURL: url,
        websiteKey: key,
        pageAction: pageAction
      }
    };

    const response = await fetch(apiUrl, {
      method: 'POST',
      headers: { 'Content-Type': 'application/json' },
      body: JSON.stringify(payload)
    });

    const data = await response.json();
    return data.taskId;

  } catch (error) {
    console.error('Error creando tarea CAPTCHA:', error);
    throw error;
  }
}

async function getTaskResult(taskId) {
  try {
    const apiUrl = 'https://api.capsolver.com/getTaskResult';
    const payload = {
      clientKey: CAPSOLVER_KEY,
      taskId: taskId,
    };

    let result;
    do {
      const response = await fetch(apiUrl, {
        method: 'POST',
        headers: { 'Content-Type': 'application/json' },
        body: JSON.stringify(payload)
      });

      result = await response.json();
      if (result.status === 'ready') {
        return result.solution;
      }

      await new Promise(resolve => setTimeout(resolve, 5000)); // esperar 5 segundos
    } while (true);

  } catch (error) {
    console.error('Error obteniendo el resultado CAPTCHA:', error);
    throw error;
  }
}

async function main() {
  console.log('Creando tarea CAPTCHA...');
  const taskId = await createTask(PAGE_URL, PAGE_KEY, PAGE_ACTION);
  console.log(`ID de tarea: ${taskId}`);

  console.log('Obteniendo el resultado CAPTCHA...');
  const solution = await getTaskResult(taskId);
  const token = solution.gRecaptchaResponse;
  console.log(`Solución de token: ${token}`);

  const res = await fetch('https://antcpt.com/score_detector/verify.php', {
    method: 'POST',
    headers: { 'Content-Type': 'application/json' },
    body: JSON.stringify({ 'g-recaptcha-response': token })
  });

  const response = await res.json();
  console.log(`Puntuación: ${response.score}`);
}

main().catch(err => {
  console.error(err);
});
Manejo de proxies con node-fetch
Para enrutar tus solicitudes a través de un proxy con node-fetch, necesitarás un agente proxy como https-proxy-agent. Aquí te mostramos cómo implementarlo:
bash
npm install https-proxy-agentEjemplo con un proxy:
javascript
const fetch = require('node-fetch');
const HttpsProxyAgent = require('https-proxy-agent');

const proxyAgent = new HttpsProxyAgent('http://username:password@proxyserver:8080');

fetch('https://httpbin.org/ip', { agent: proxyAgent })
  .then(response => response.json())
  .then(data => {
    console.log('Cuerpo de la respuesta:', data);
  })
  .catch(error => {
    console.error('Error:', error);
  });
Manejo de cookies con node-fetch
Para el manejo de cookies en node-fetch, puedes usar una librería como fetch-cookie. Aquí te mostramos cómo usarla:
bash
npm install fetch-cookieEjemplo:
javascript
const fetch = require('node-fetch');
const fetchCookie = require('fetch-cookie');
const cookieFetch = fetchCookie(fetch);

cookieFetch('https://httpbin.org/cookies/set?name=value')
  .then(response => response.json())
  .then(data => {
    console.log('Cookies:', data);
  })
  .catch(error => {
    console.error('Error:', error);
  });
Uso avanzado: Encabezados personalizados y solicitudes POST
Puedes personalizar los encabezados y realizar solicitudes POST con node-fetch:
javascript
const fetch = require('node-fetch');
const headers = {
'User-Agent': 'Mozilla/5.0 (compatible)',
'Accept-Language': 'es-ES,es;q=0.5',
};
const data = {
username: 'testuser',
password: 'testpass',
};
fetch('https://httpbin.org/post', {
method: 'POST',
headers: headers,
body: JSON.stringify(data),
})
.then(response => response.json())
.then(data => {
console.log('Respuesta JSON:', data);
})
.catch(error => {
console.error('Error:', error);
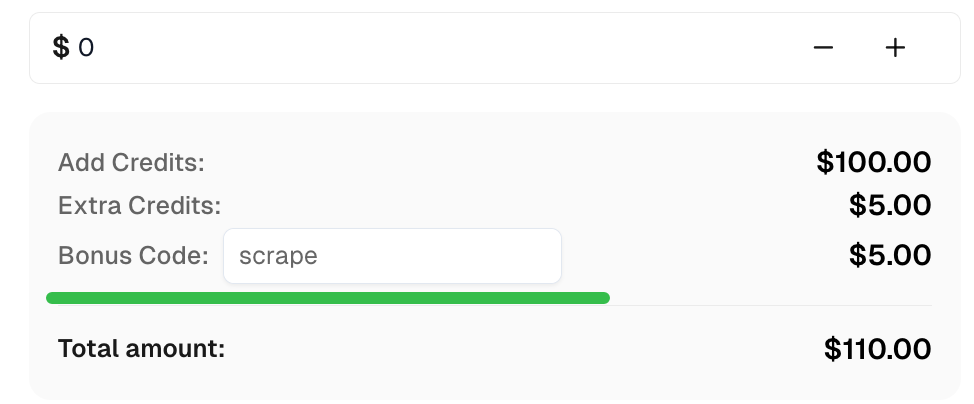
});Código de bonificación
Reclama tu Código de bonificación para las mejores soluciones de captcha en CapSolver: scrape. Después de canjearlo, obtendrás un bono adicional del 5% después de cada recarga, un número ilimitado de veces.
Conclusión
Con node-fetch, puedes gestionar eficazmente las solicitudes HTTP en Node.js. Al integrarlo con CapSolver, puedes resolver captchas como ReCaptcha V3 y captcha, proporcionando acceso a contenido restringido. Además, node-fetch ofrece personalización a través de encabezados, soporte de proxy y gestión de cookies, lo que lo convierte en una herramienta versátil para el web scraping y la automatización.
Ver más
Web ScrapingJul 22, 2026
Monitoreo de Regresión en SEO Técnico: Pipeline de Automatización
Construir un monitoreo de regresión de SEO técnico con líneas base versionadas, diferencias semánticas, alertas verificadas y un paso opcional de recuperación CAPTCHA autorizado.
CloudflareJul 22, 2026
Solucionador de CAPTCHA MCP: Guía de Integración de Cloudflare Turnstile
Construya un flujo de trabajo de MCP de Cloudflare Turnstile con CapSolver, reintentos limitados, registros con datos eliminados, verificaciones de sesión y validación de resultados.